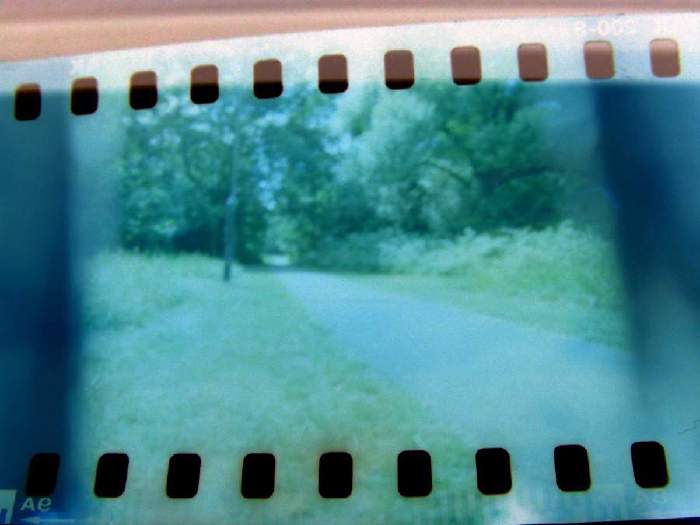
35mm Pinhole Camera
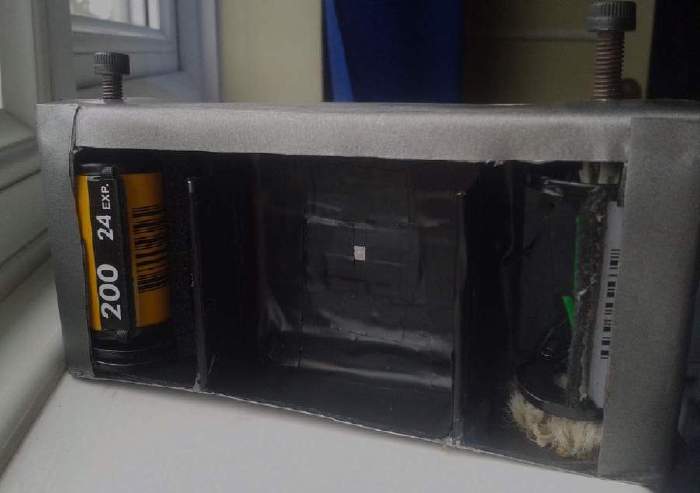
How I made it: Link to heading
The humble beginnings Link to heading
I picked up a couple of baking trays for the total price of 3 quid - very good value I must say!
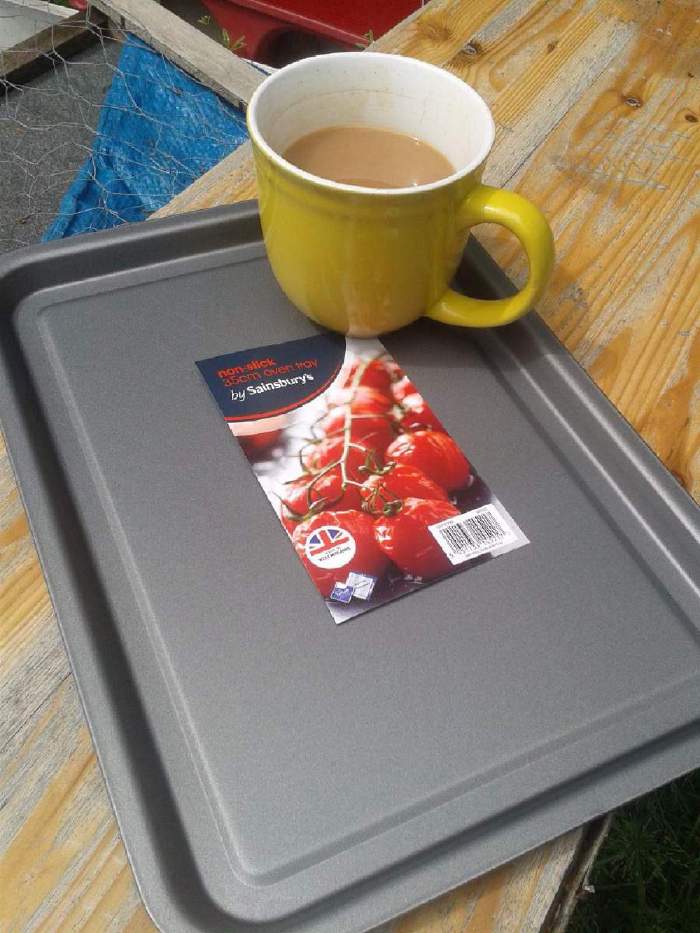
Initial body cut Link to heading
You can cut through these trays with a good pair of scissors.
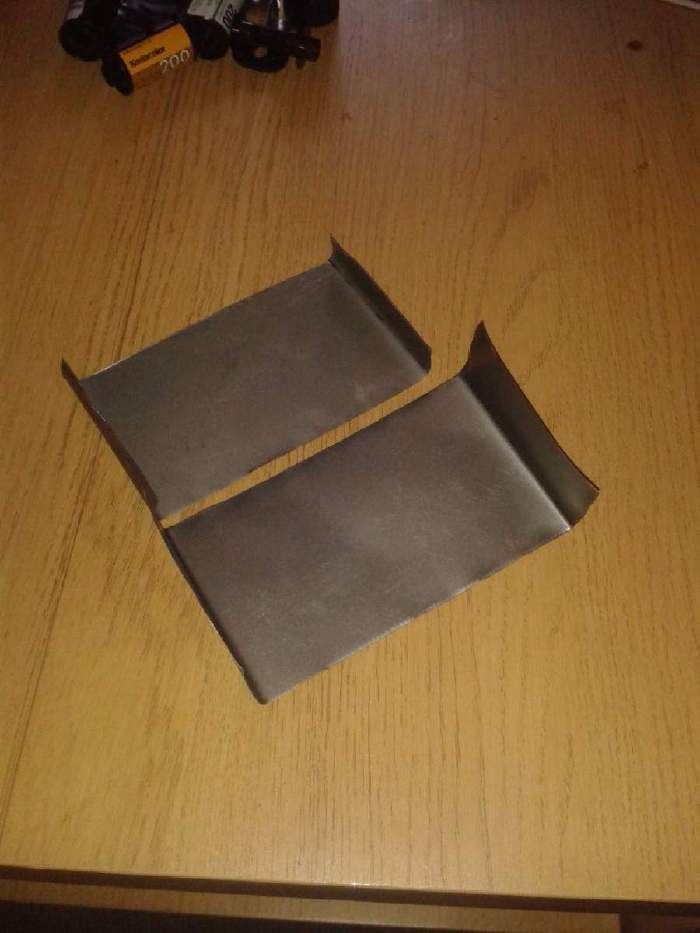
Marking out the pinhole Link to heading
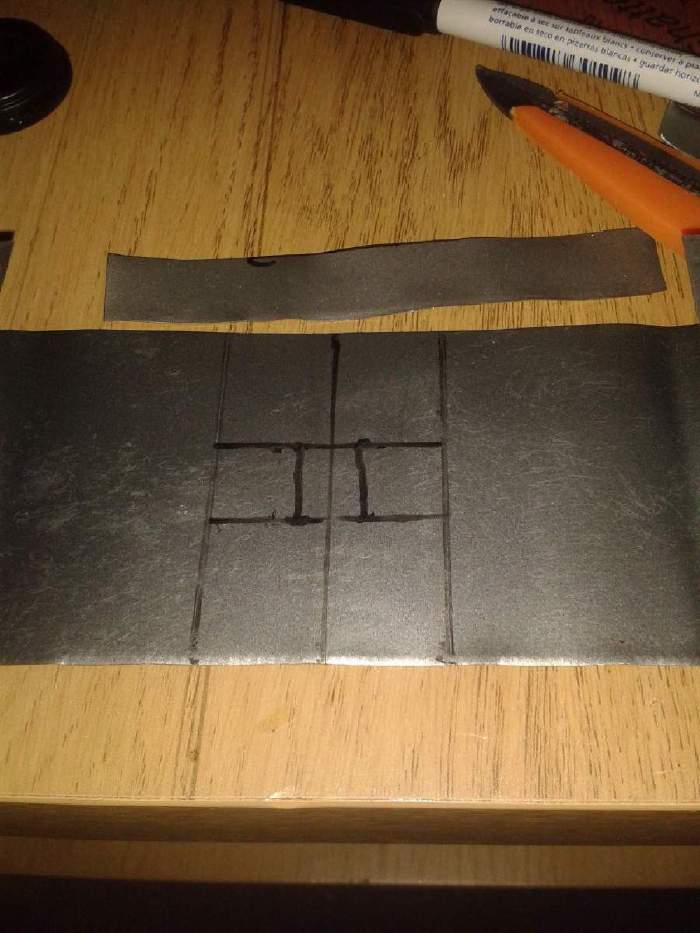
My very shoddy metalwork Link to heading
The task of creating a hole in the middle of a sheet of aluminium without the aid of power tools was rather difficult.
I managed to work my way around this later on!
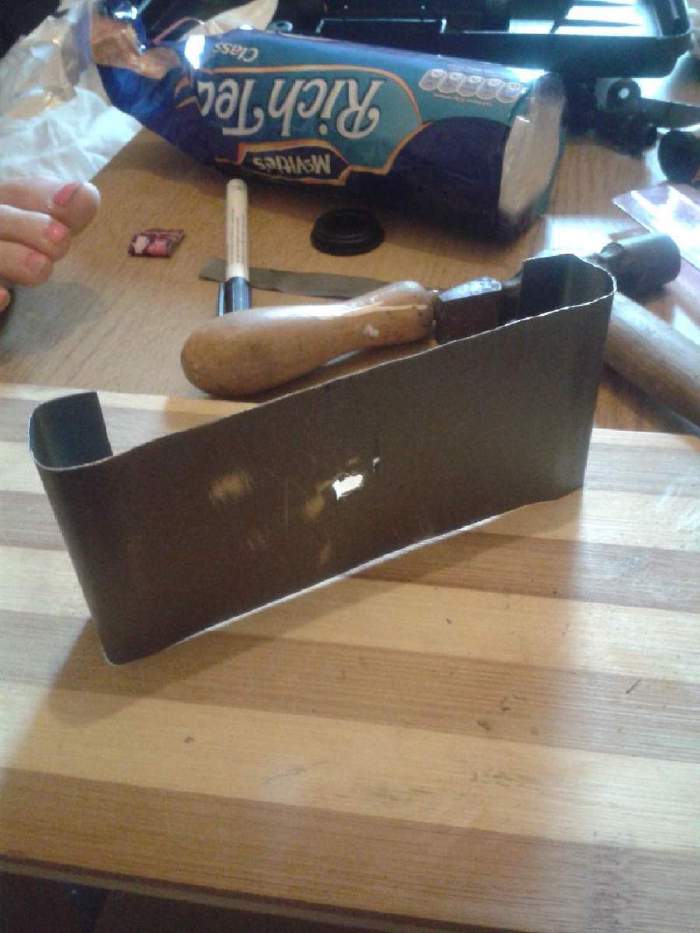
Attaching a base to the back Link to heading
I didn’t even end up using this backplate in the end but I thought I’d share it!
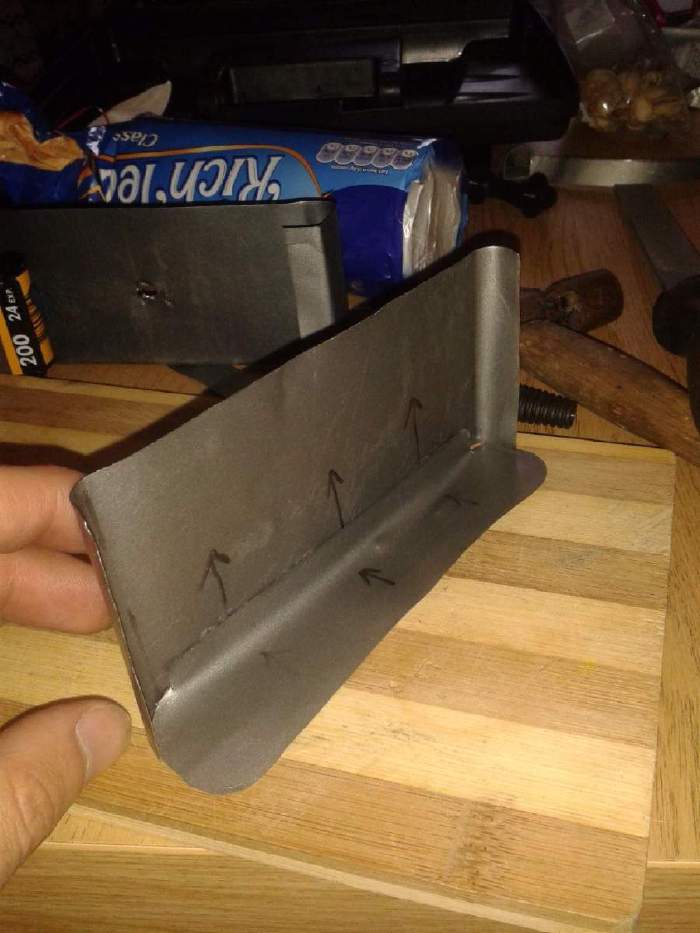
My initial bodies Link to heading
Glue gun glue, superglue and black electrical tape were my weapons of choice for attaching different parts to the body.
At this point I ditched the backplate on the left and concentrated on the front of the camera
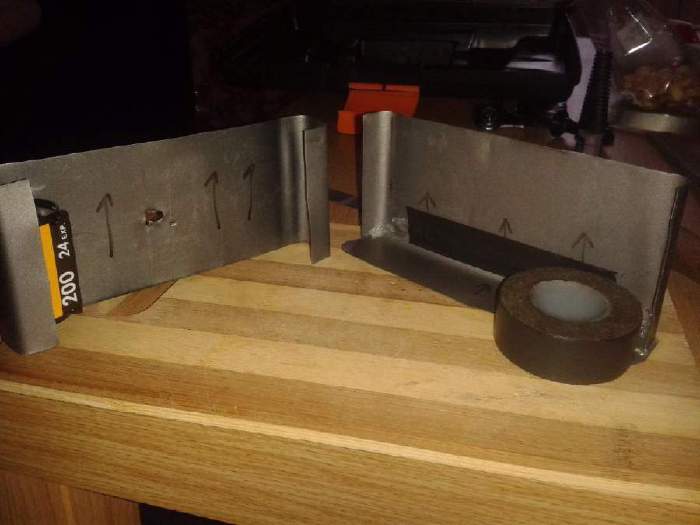
The front Link to heading
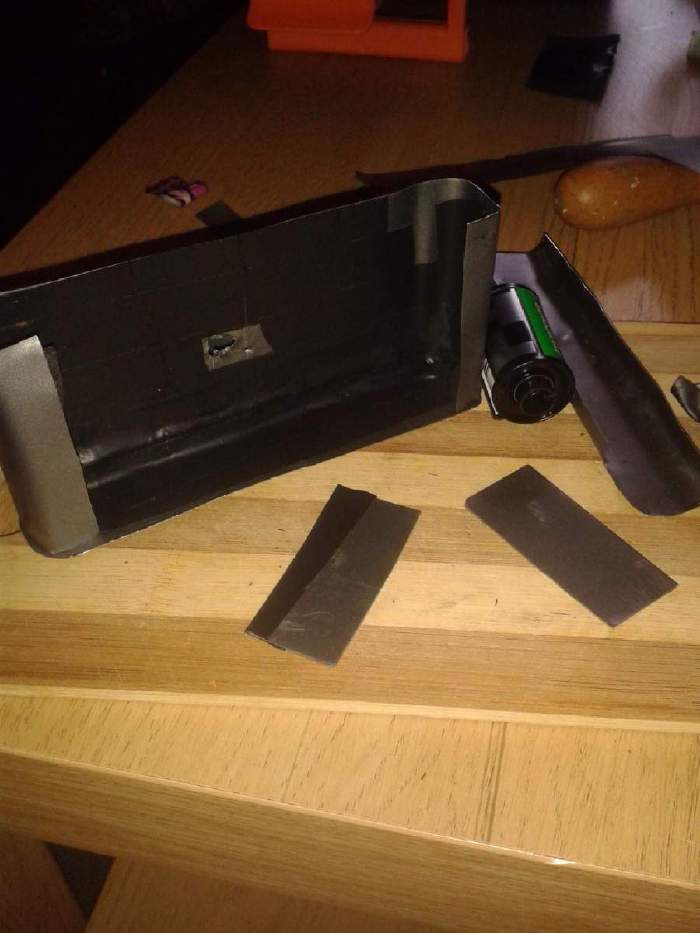
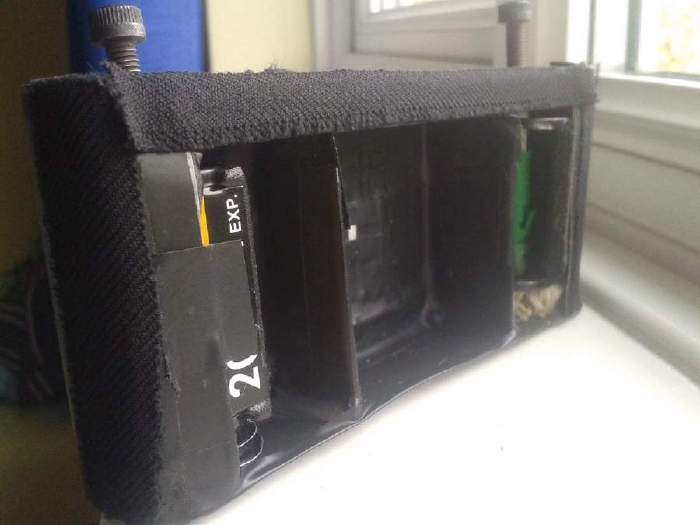
I attached the bottom to the front part of the camera and taped up the inside of the camera to minimise internal reflections in the camera.
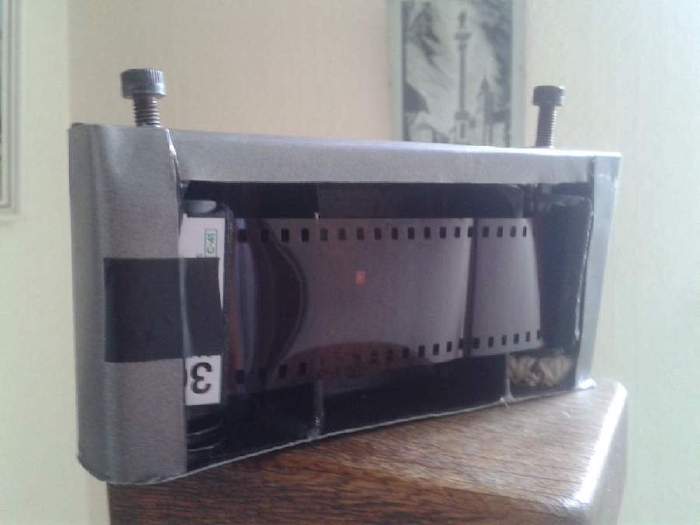
The two small pieces at the bottom are dividers which form the frame for the film.
Tension! Link to heading
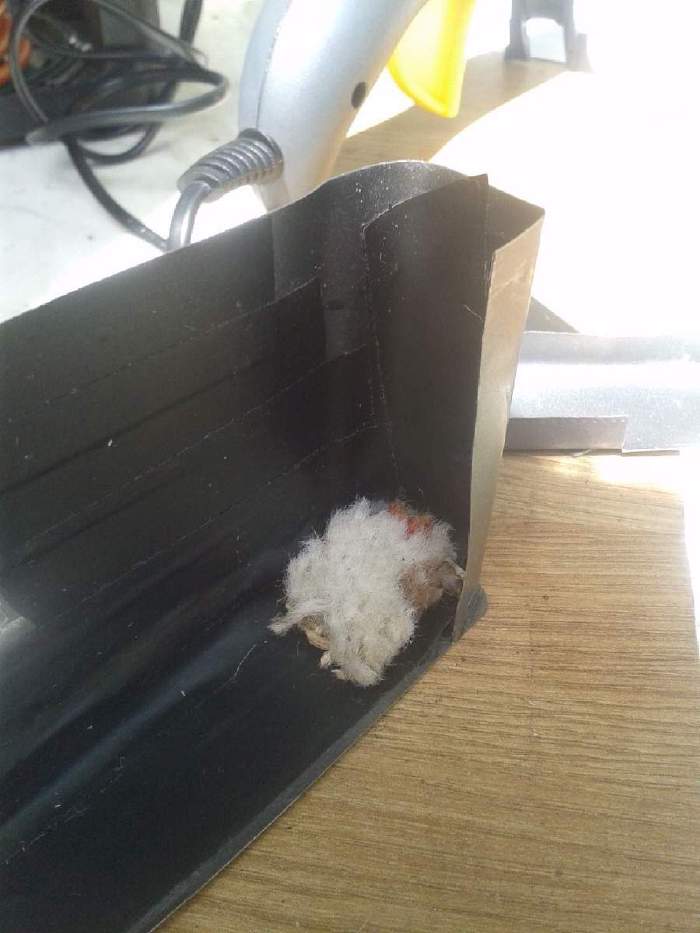
I found a little patch of carpet laying around and stuck it on the right side of the camera.
This is used to create tension in the take-up-spool for the film.
The top Link to heading
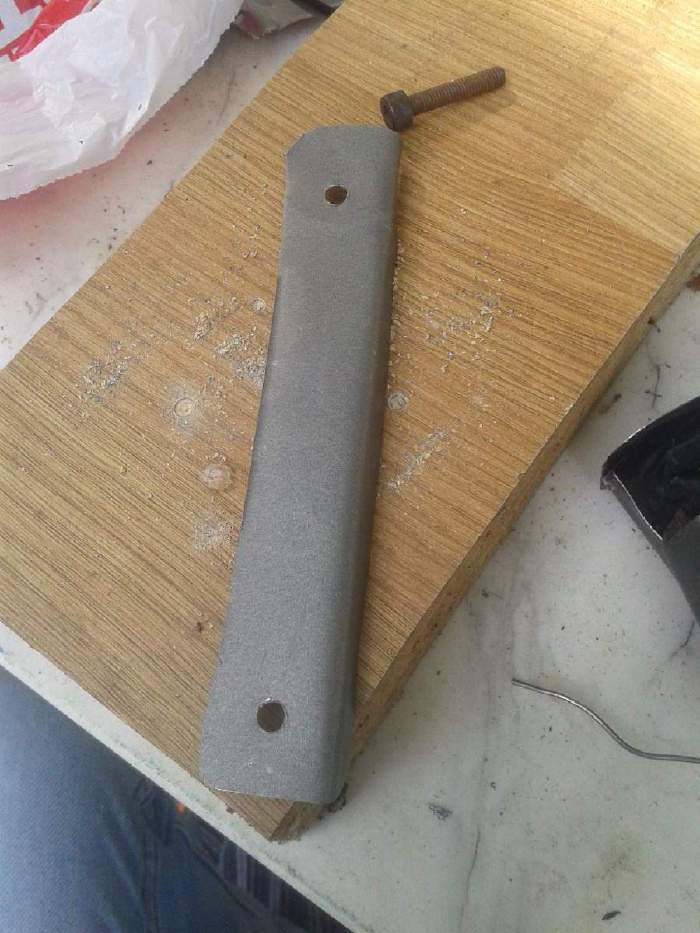
Drilled two holes to provide access to the film.
The dials Link to heading
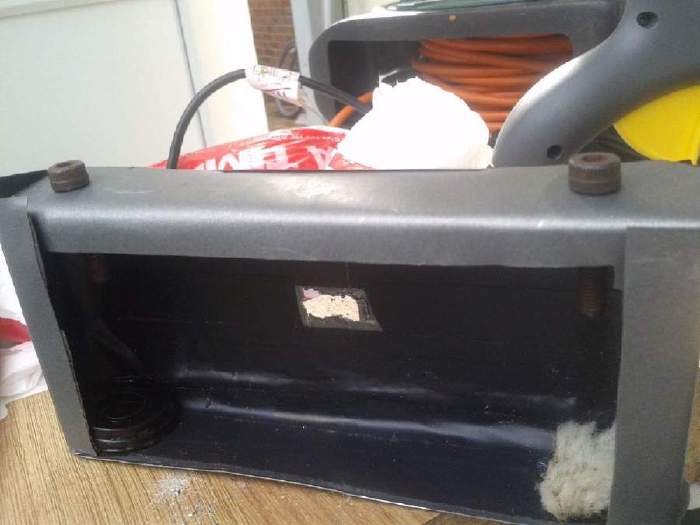
The area to the left is where a 35mm film canister is loaded and then screw is then used to rewind the film when unloading the camera.
On the right the screw is used to advance the film between every shot. More details to follow!
Light proofing the holes Link to heading
I drilled (punctured may a better way to describe it) a hole in the top of the enclosure and threaded a camera cable through it.
Added some fabric to the underside of the holes on the top to minimise light which could enter via these gaps.
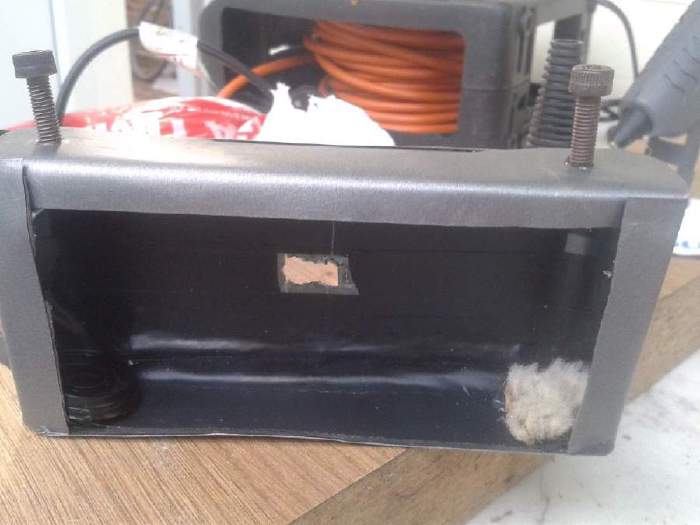
First attempt for a take-up-spool Link to heading
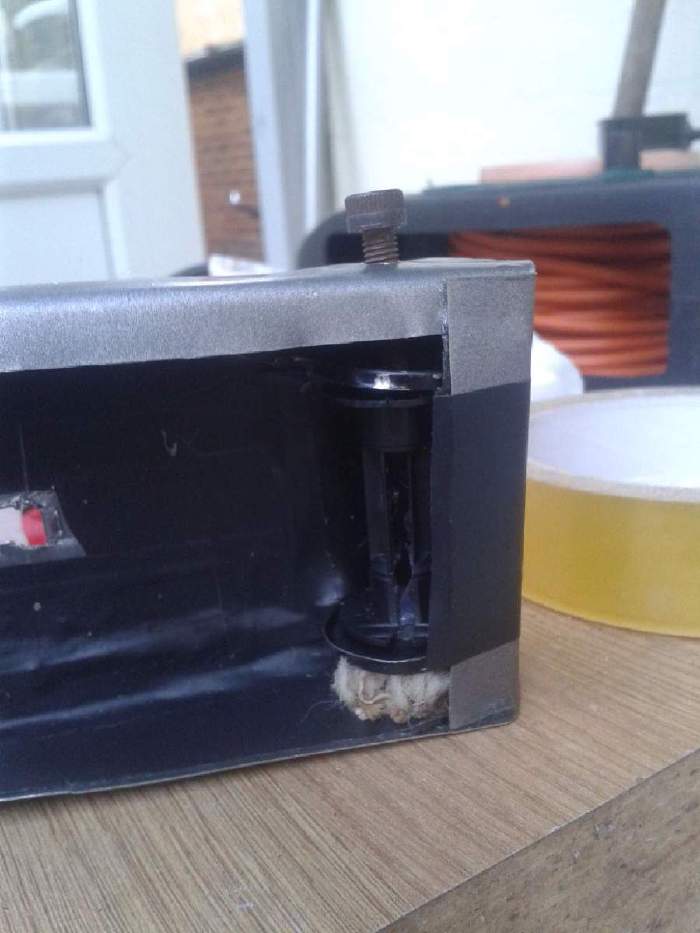
So I took a spent film canister, opened it up, did a bit of sawing and flipped it all round all to discover this was a terrible idea!
Polishing Link to heading
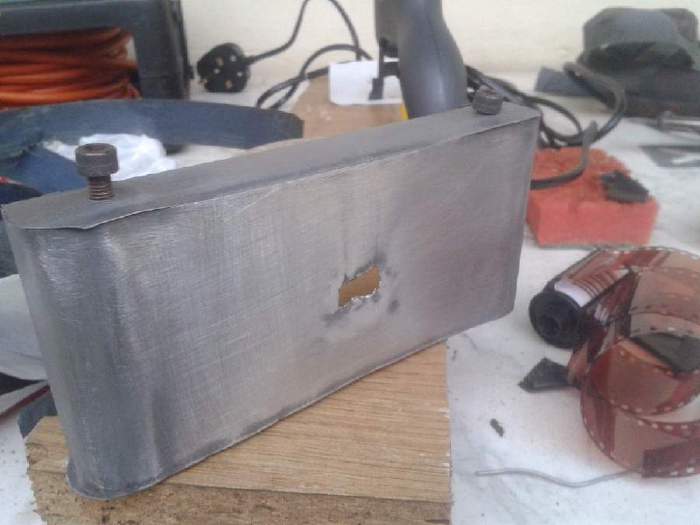
After deciding my take-up-spool was terrible I decided to scratch away the teflon coating from the baking trays to create a brushed aluminium look.
Mess Link to heading
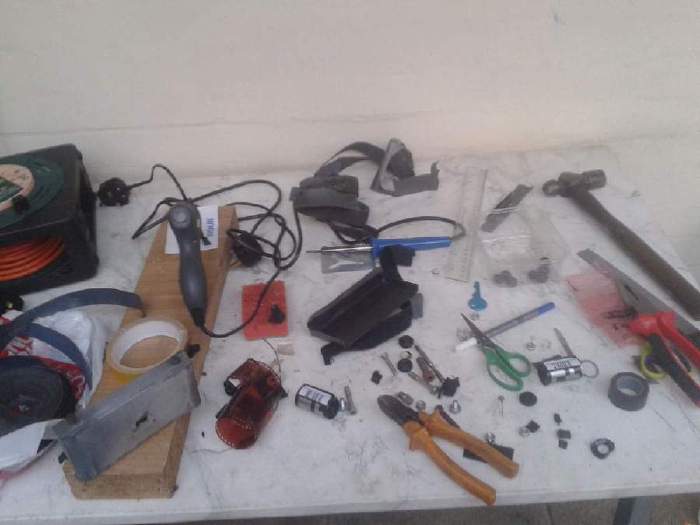
Don’t work like this!
Take-up spool v2 Link to heading
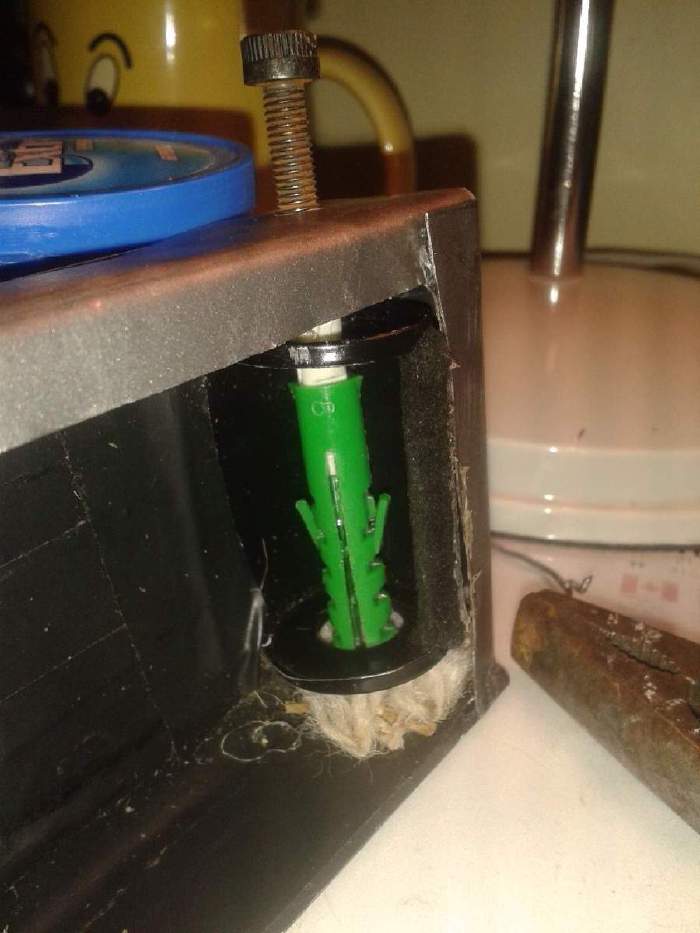
Believe it or not but I took a couple of wall plugs I had lying around and attached them to the screw to form the take-up spool.
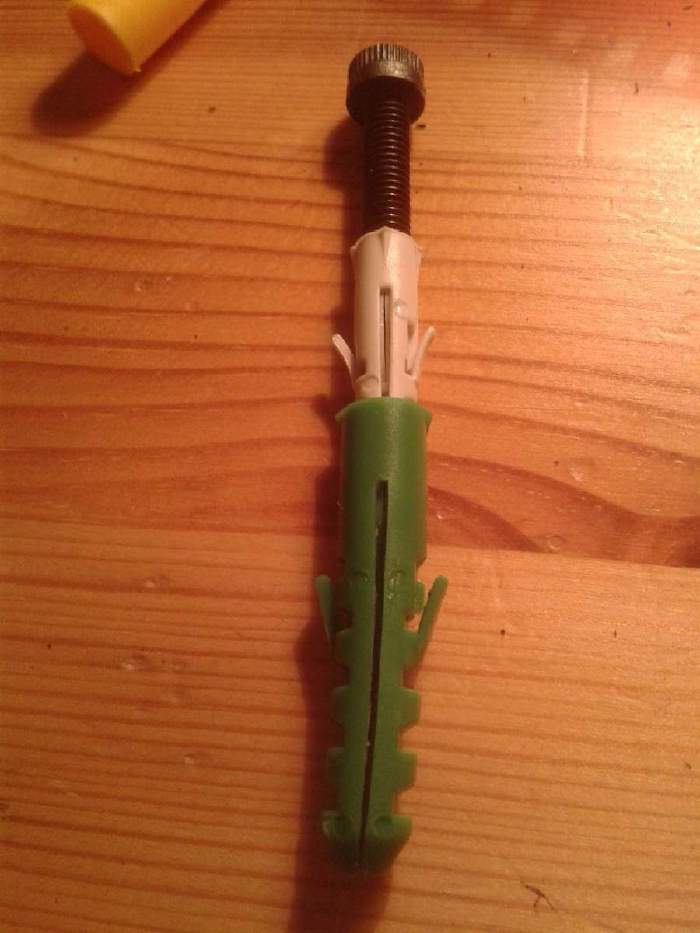
Take-up spool v2 Link to heading
Old spindle out. New plugs in.
More tension Link to heading
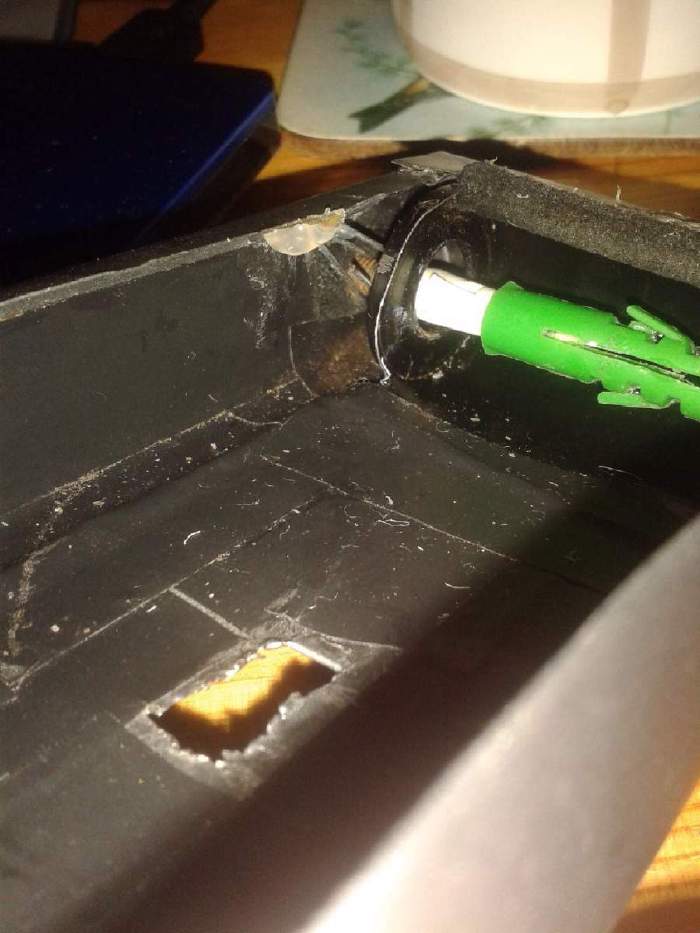
My carpet idea didn’t seem to create enough tension for the film so a paper-clip positioned in a strange manner was just what the doctor ordered.
Rewind knob Link to heading
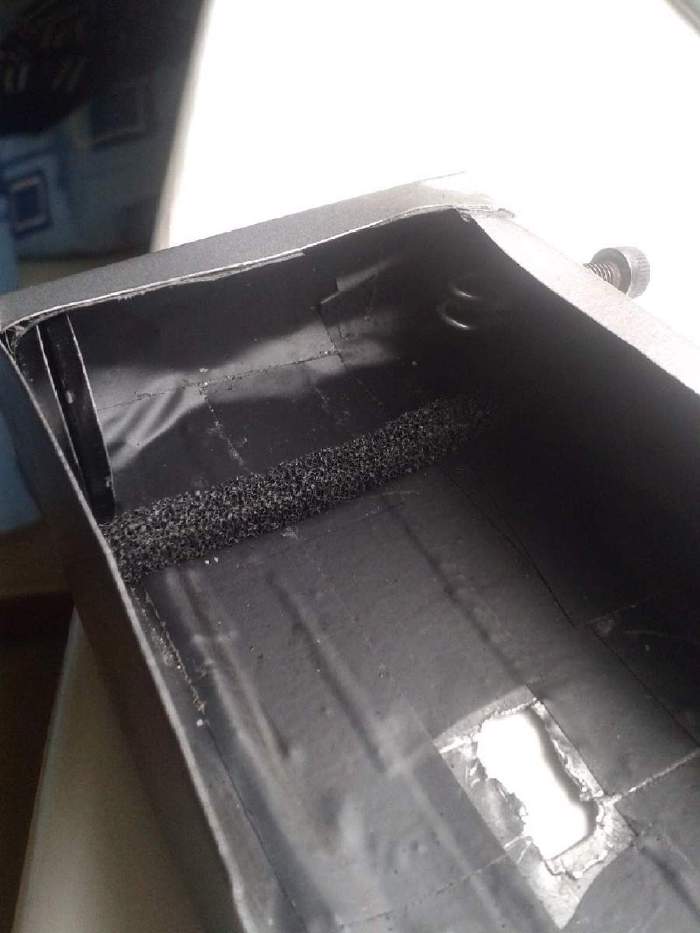
The end of a paperclip super-glued to the end of the film rewind screw provided the means to rewind film in the canister.
Creating the pinhole Link to heading
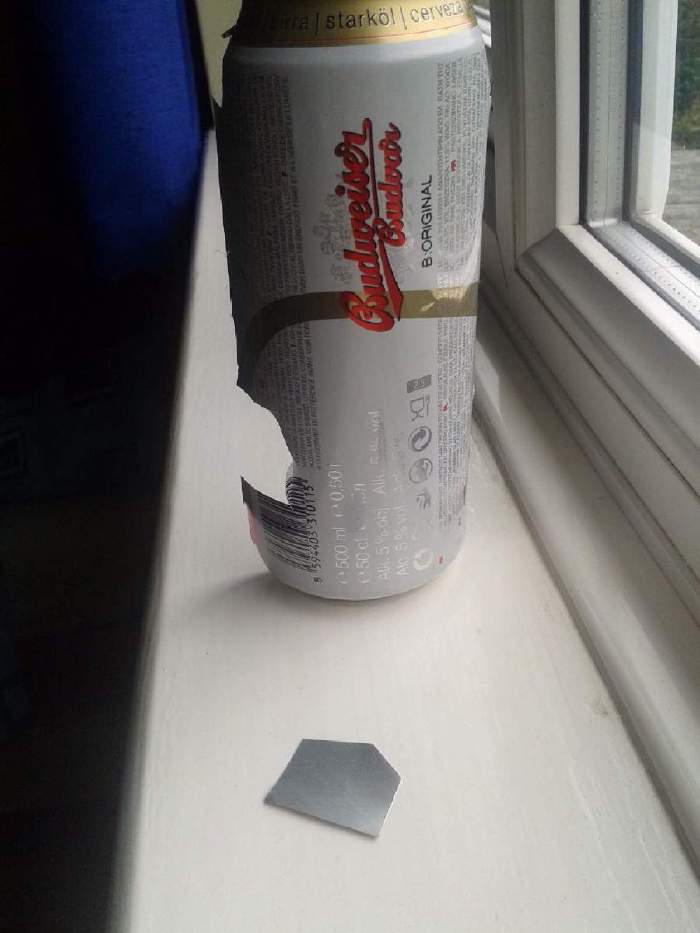
The oven tray aluminium was too thick to create a pinhole small enough so once again beer saves the day!
The Pinhole Link to heading
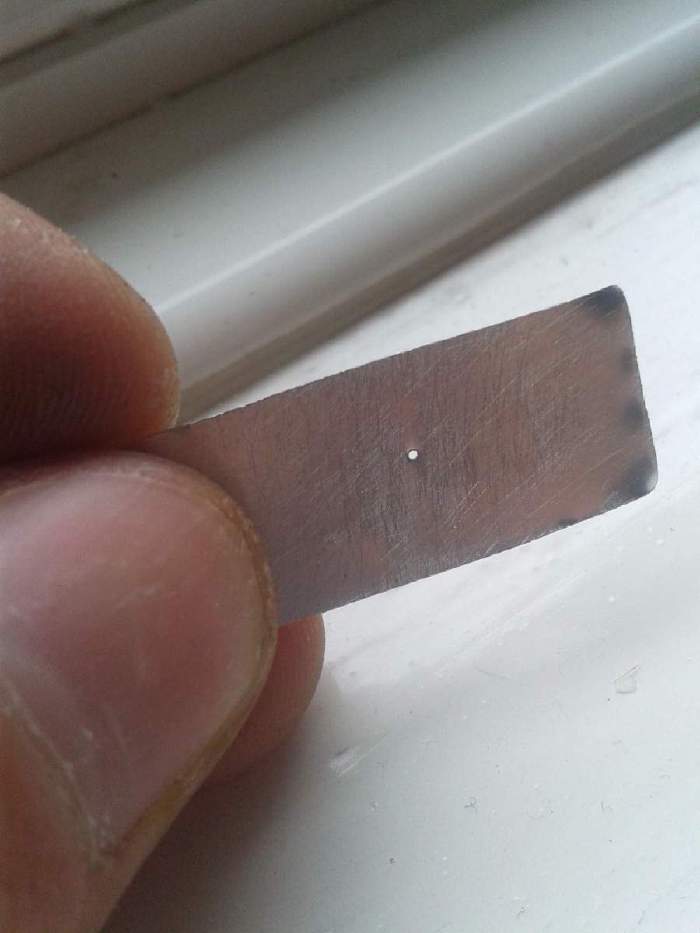
Pierced with a sewing needle. Approximately 0.4mm wide.
The Pinhole Link to heading
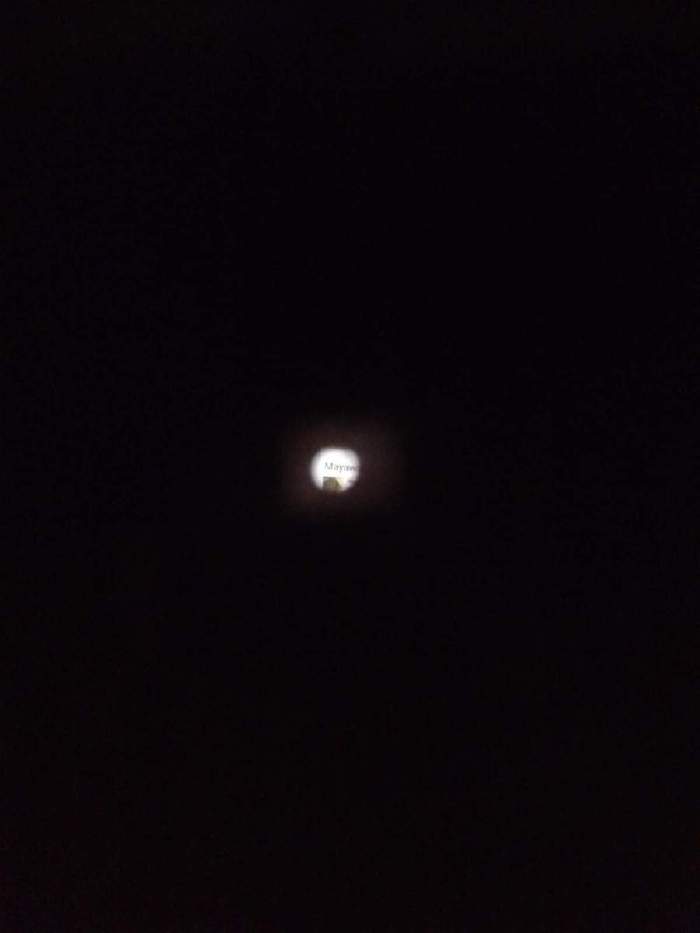
Just a little test
Attaching the dividers and taping it all up Link to heading
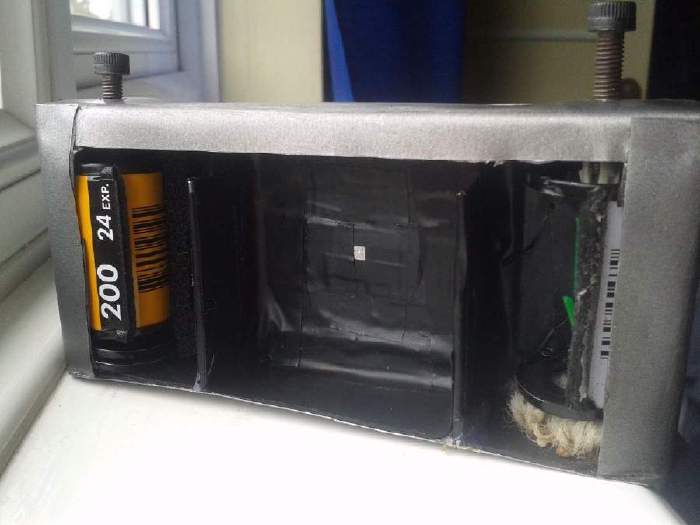
I attached the dividers to the front of the camera.
They are 54mm apart (as opposed to the standard 36mm) as I wished to create a camera which would shoot ultra-wide photos - this unfortunately become redundant as explained later.
Film test Link to heading
I loaded a junk developed roll of film into the camera to test it out: all seems swell.
Back plate number two Link to heading
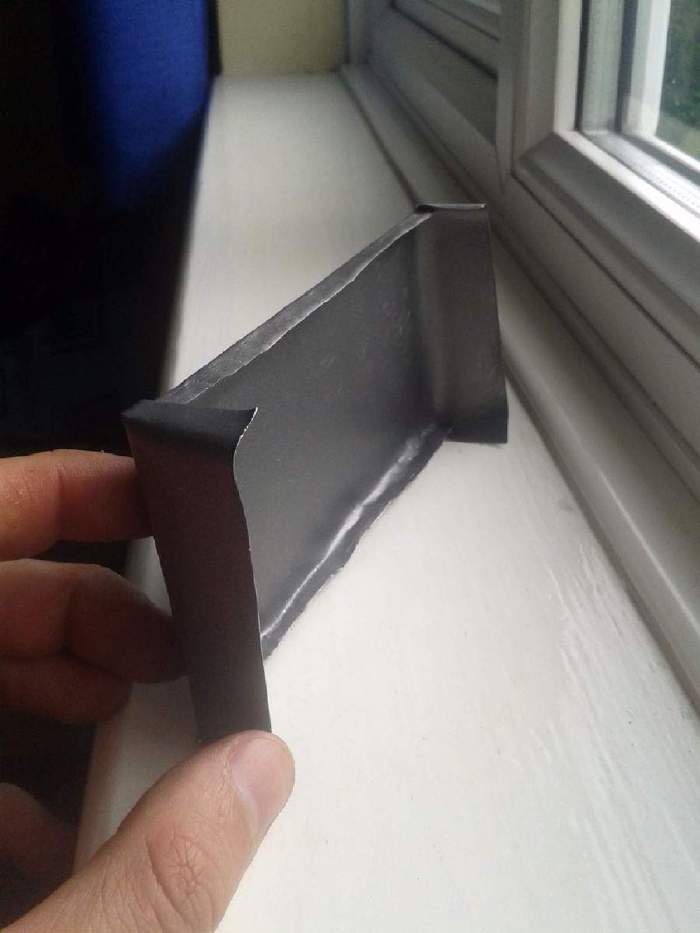
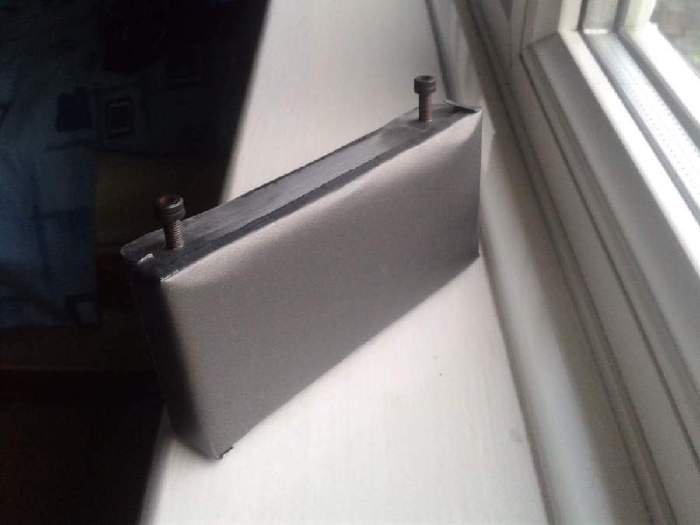
My first backplate in the beginning of the album was inadequate so I remade it using a single piece of “baking tray”.
Snug fit Link to heading
Lightproofing Link to heading
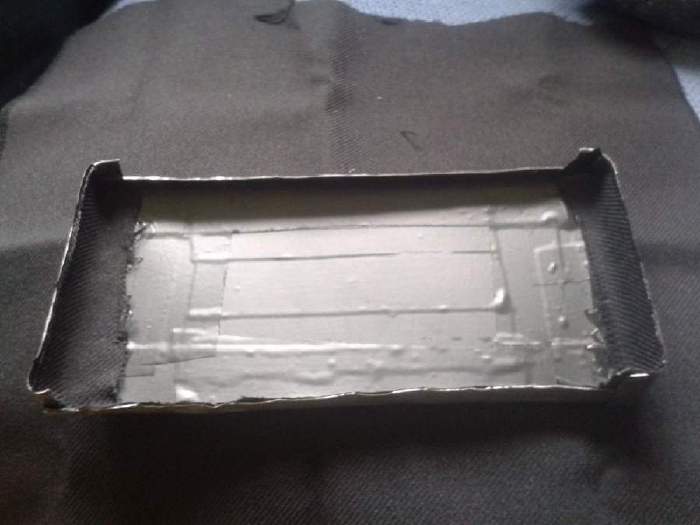
Added some fabric to ensure no light can enter the camera between the front and back bodies of the camera.
More lightproofing Link to heading
Same business on the front of the camera
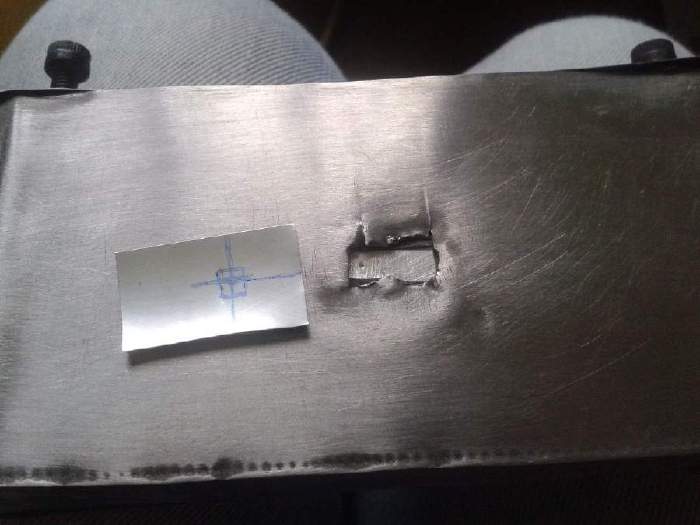
Fixing my mess Link to heading
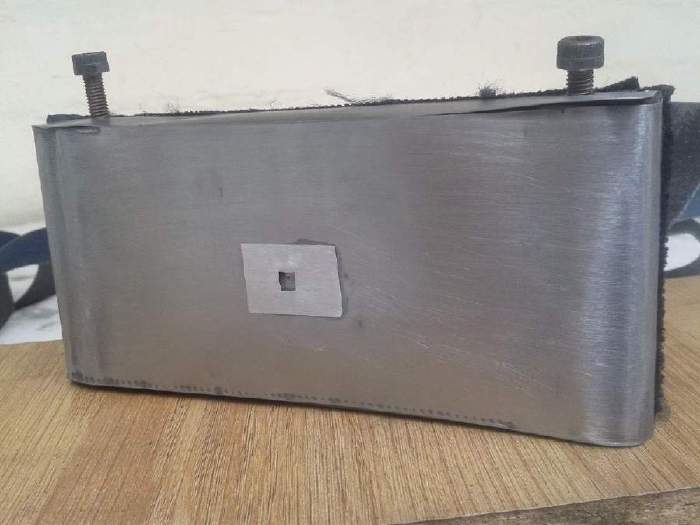
I cut more aluminium from the can and cut a large hole to cover up my terrible hole making.
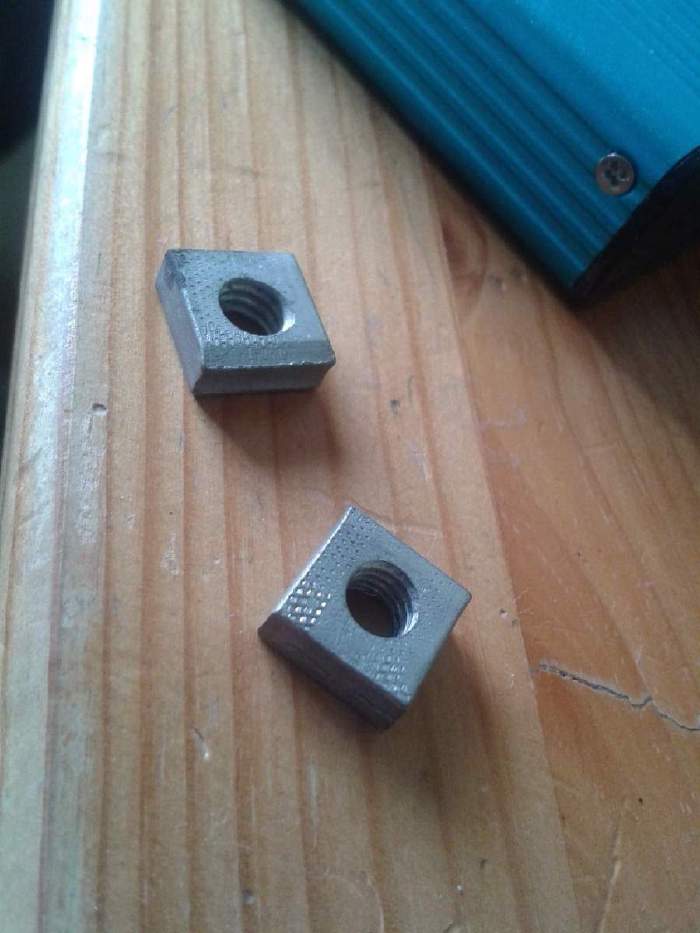
Mounting screws Link to heading
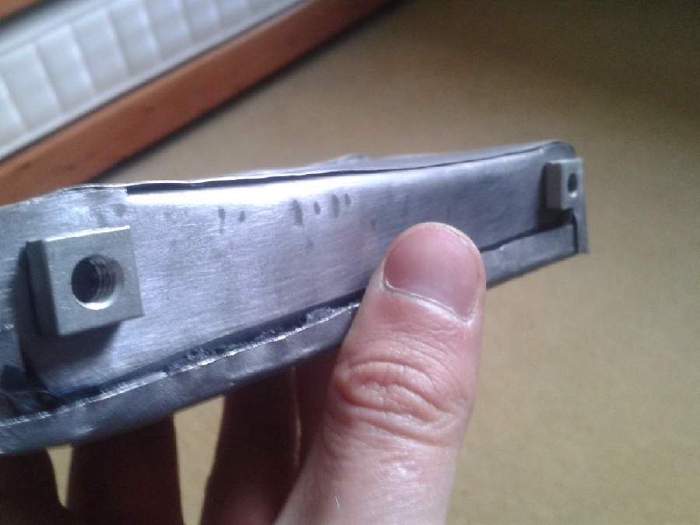
These are M3 screw nuts which should enable the camera to be attached to most tripods.
Attached to the base of the camera Link to heading
Done and dusted Link to heading
I unfortunately I didn’t take more pictures of the finished product.
I used a bit of card and tape to create a shutter, not very accurate or pretty, but it seemed to get the job done :)
Sample Pictures Link to heading
I initially hoped for a wide aspect ratio but it seems my shoddy metal work blocked light from entering the camera at extreme angles.
With a 0.4mm pinhole and approximately 25mm between hole and film, the camera had a fixed f-stop of ~62.5. I did a few exposure time calculations when taking photos and even used a light meter for some but as my shutter was completely manual it was rather silly. In sunny conditions I opened the shutter for 1 second, in the shade 4-10.
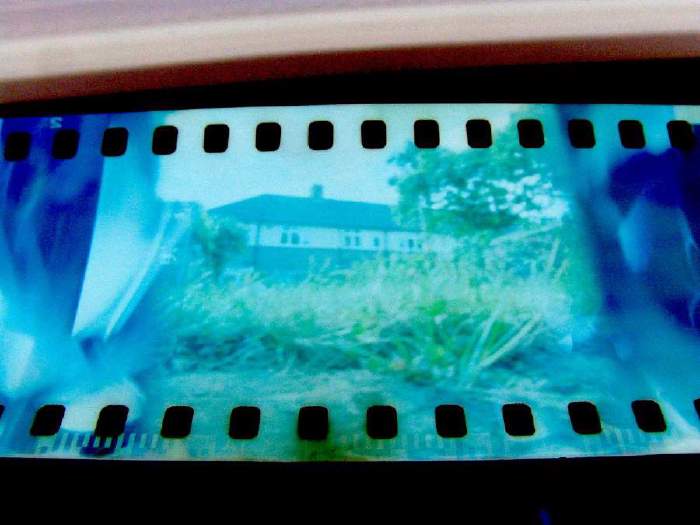
A pathway Link to heading
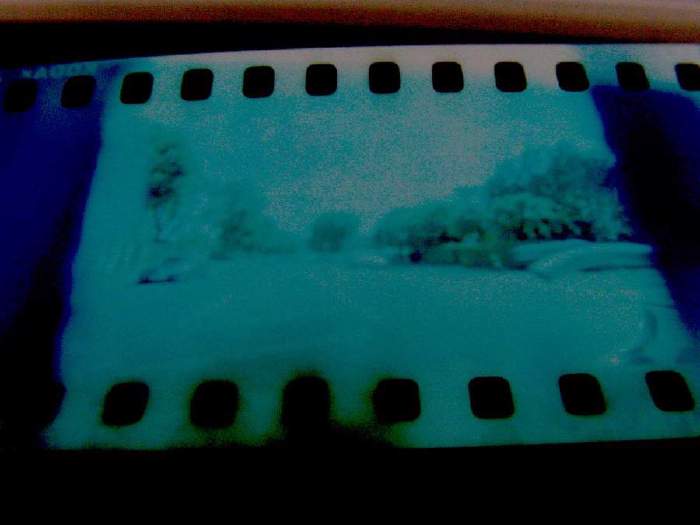
Road Link to heading
And a not so good one :(
Getting the exposure right for photos was a bit tricky.
