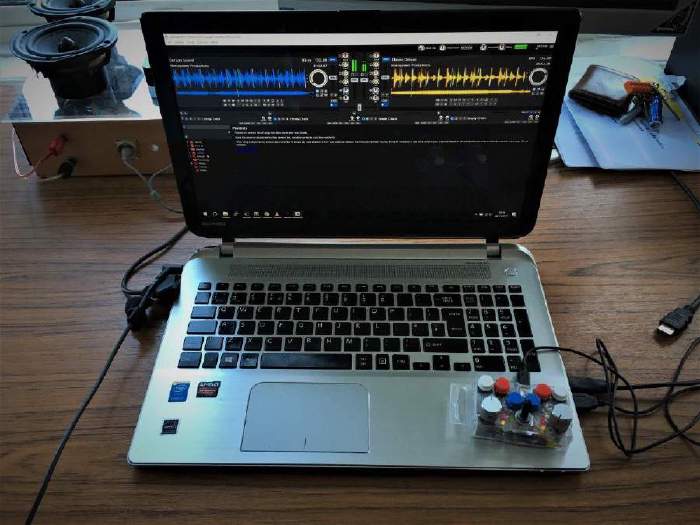
DJ Controller
A very compact Arduino based DJ Controller
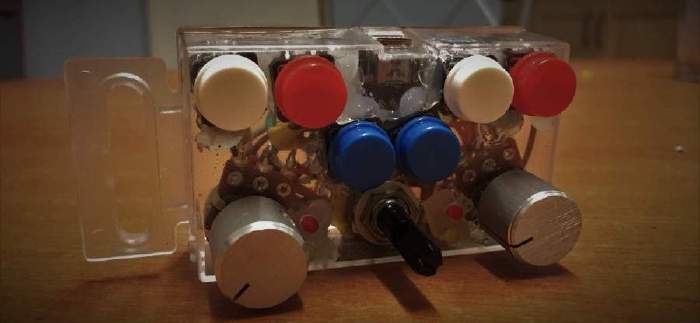
How I made it: Link to heading
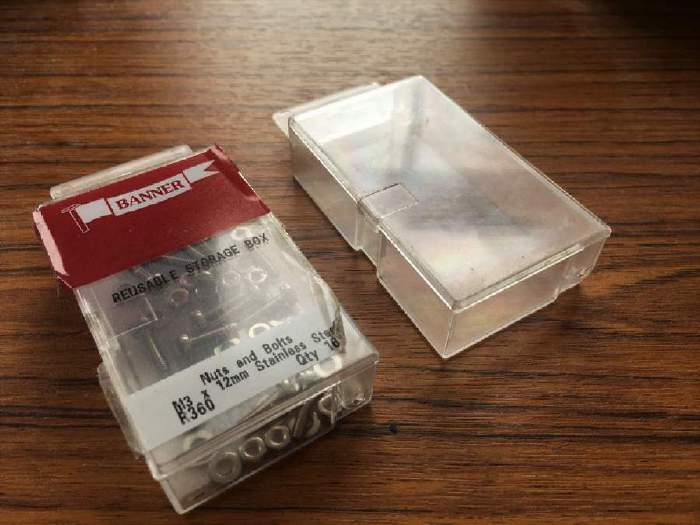
The enclosure Link to heading
I had a couple of these nuts and bolts storage boxes lying around and they seemed to be the perfect size for this tiny beast.
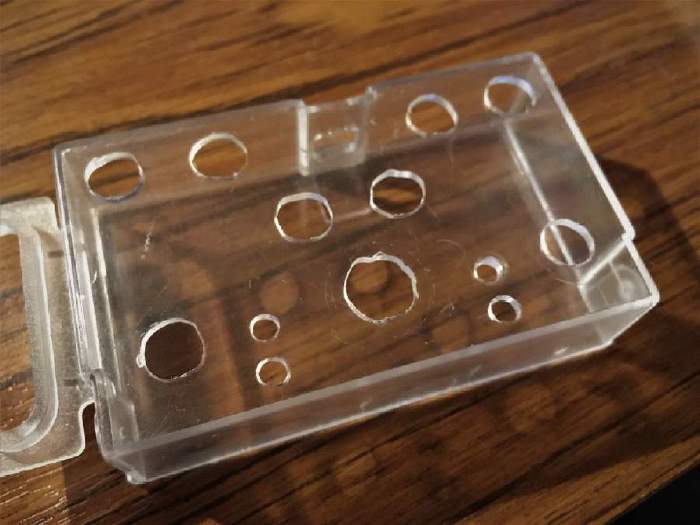
Drilling out the component holes Link to heading
Drilled out three different types of holes for the potentiometers, push buttons and LED’s. A bonus hole right at the back for the mini-USB port required to hook the thing up!
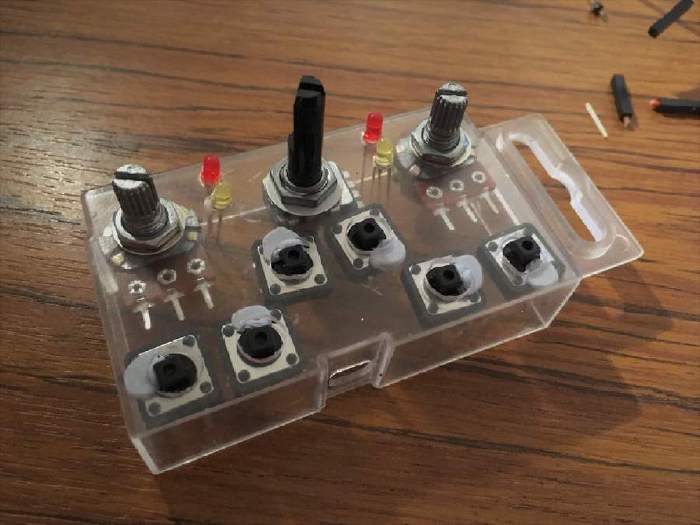
Dry fit Link to heading
Testing if all the components will fit in their predetermined holes.
The brains Link to heading
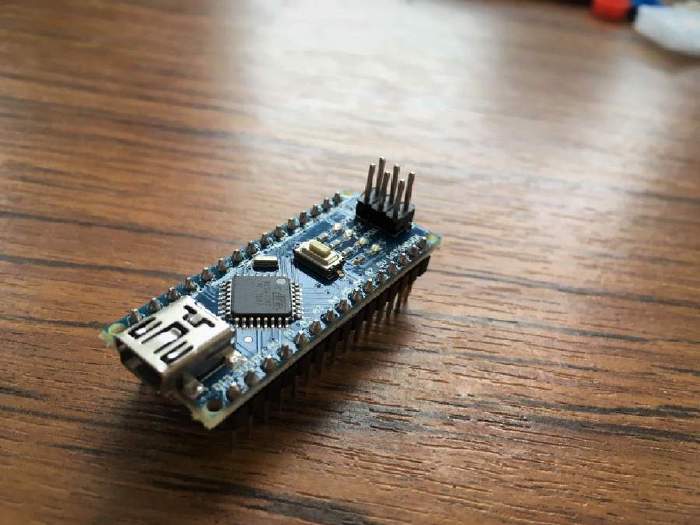
An Arduino Nano clone provides the interface between the PC and the physical device. With 14 digital and 10 analogue pins - every component can be connected directly to the microcontroller.
Quick schematics Link to heading
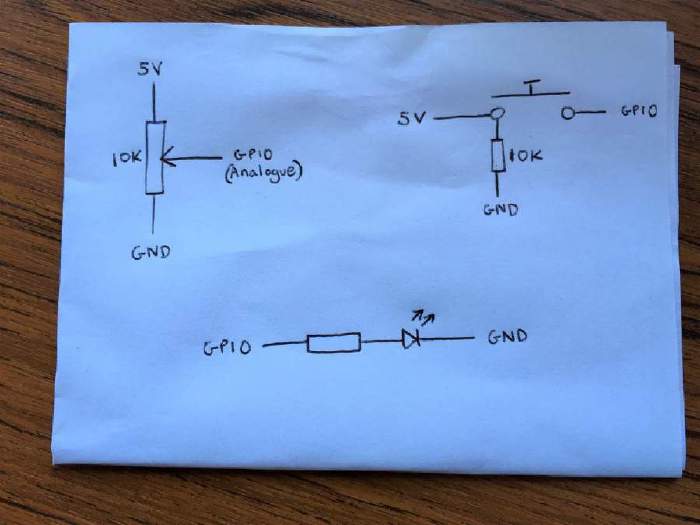
The top left describes how the potentiometers are connected to nano - The GPIO will read a voltage between 0-5V and convert this into a digital value between 0-1023.
The top right shows the push button - when open the 5V supply will go straight to ground through a 10K resistor, when pressed, current flows straight through to an input pin on the nano which we can read.
The bottom schematic is an LED connected to a current limiting resistor - 220Ω was chosen. Since it is connected to a GPIO pin it can be switched on and off on command.
The push button Link to heading
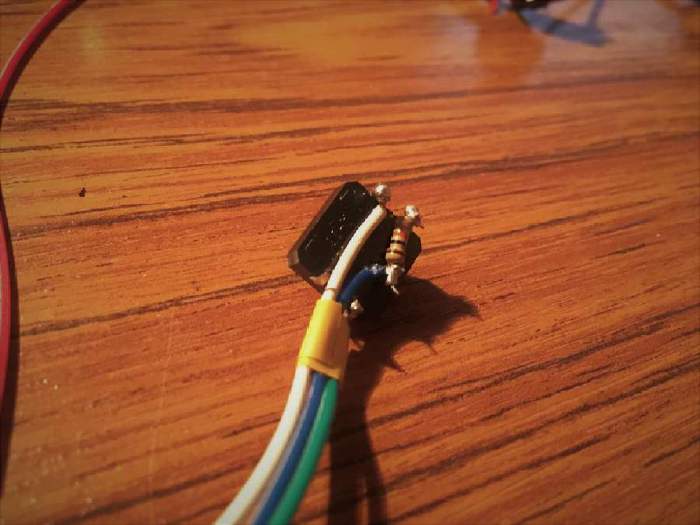
An example push button wired up, ready to be placed in the enclosure and connected to the nano.
All components in place Link to heading
The potentiometers are all held in place using a nut, whereas the push buttons and LED’s had to be secured using hot glue. I hate hot glue.
The Arduino Nano sits in the centre of the case, wedged between the sides.
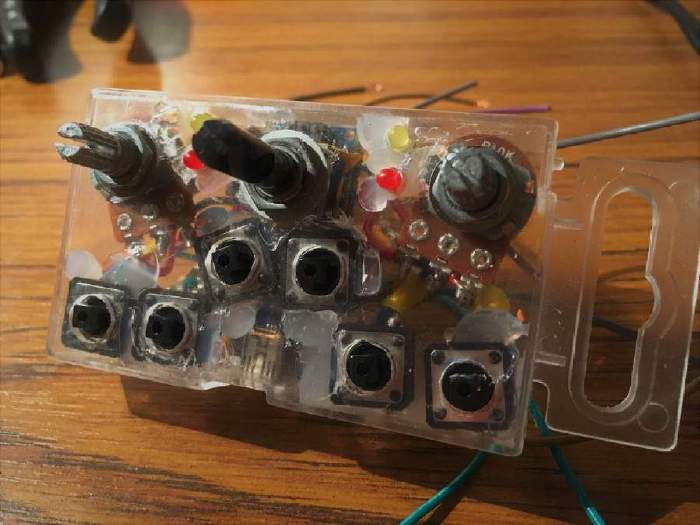
Mess in progress Link to heading
There are a lot of wires to deal with in a very small space.
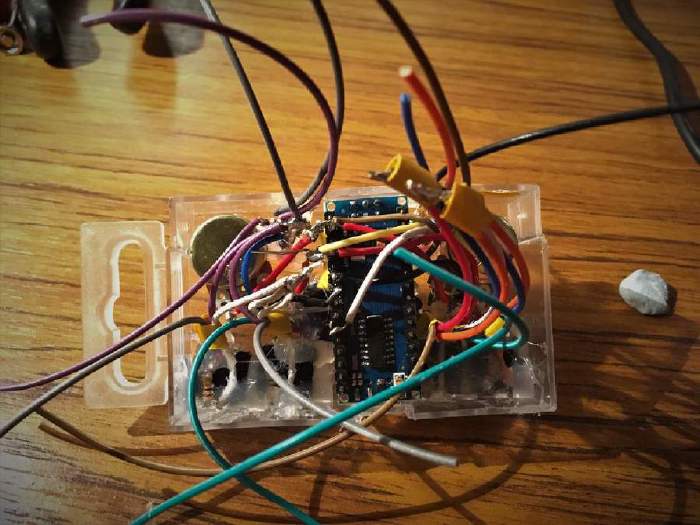
Finished wiring Link to heading
Very messy!
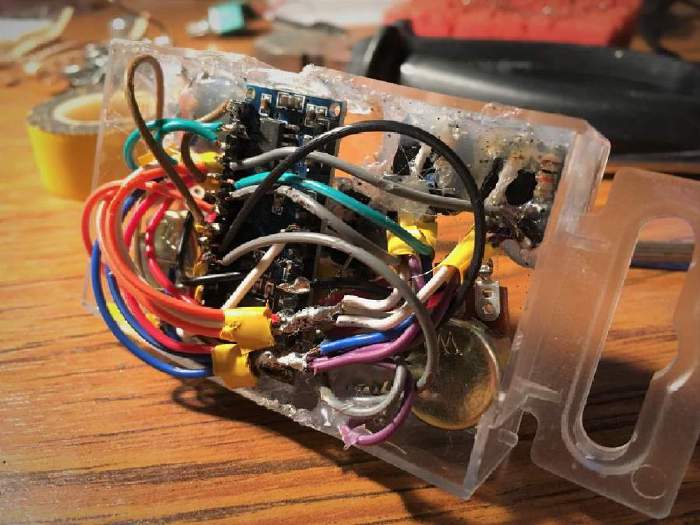
Nearly finished Link to heading
Everything is connected and enclosed but the knobs and buttons aren’t fun to press!
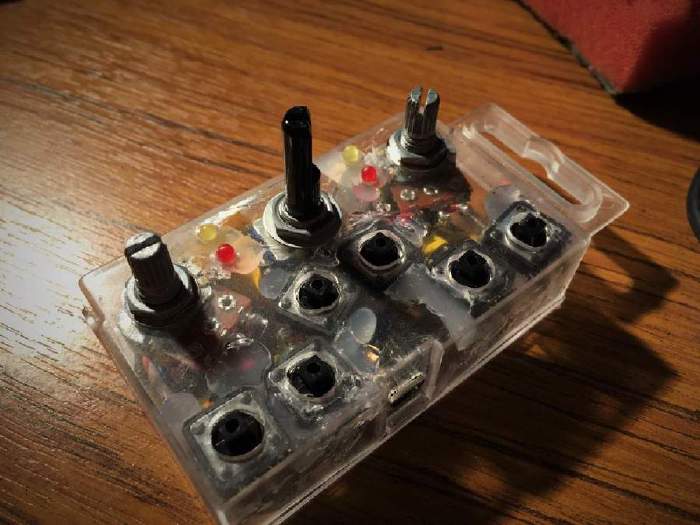
Finished article Link to heading
Stuck some arcade style buttons on and brushed aluminium knobs onto two of the pots.
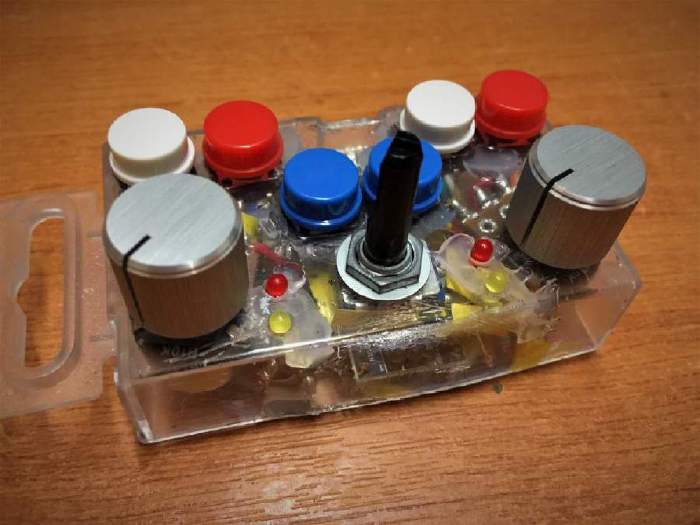
Beauty shot Link to heading
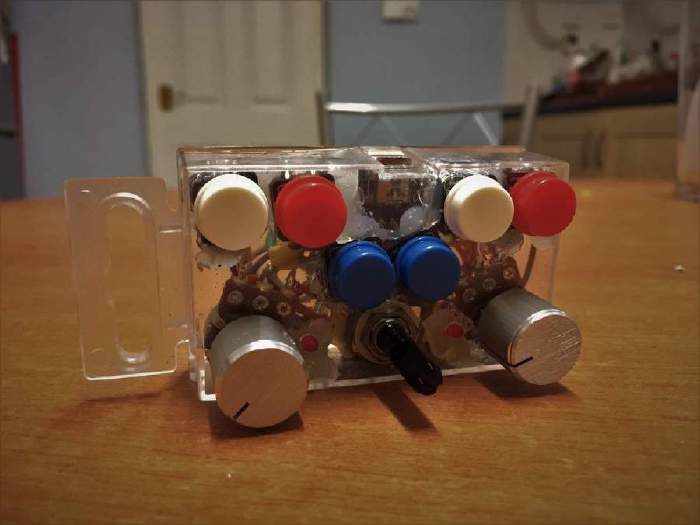
Finished Link to heading
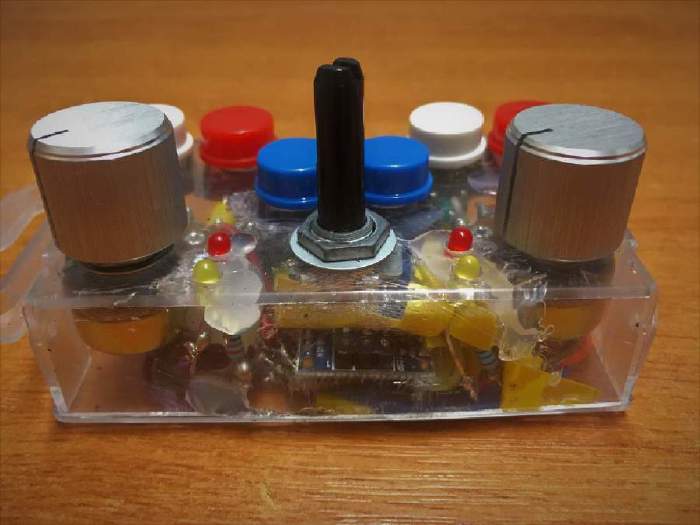
Finished Link to heading
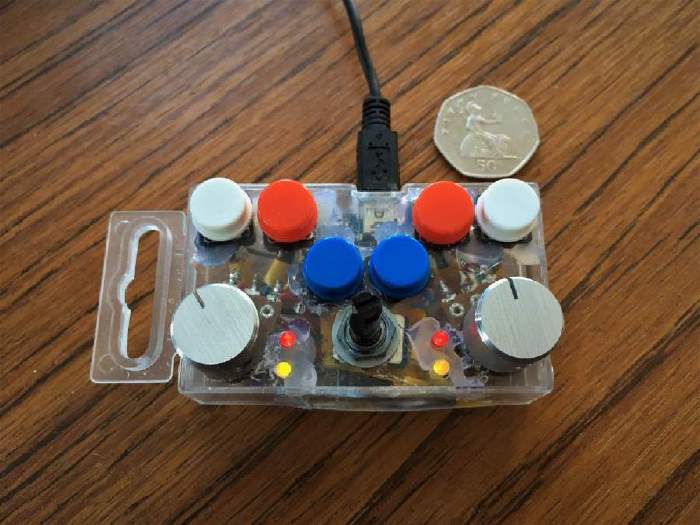
The plan was to build a very cheap and portable DJ Controller.
The result - three potentiometers, six push buttons and four LED’s which are all user configurable.
Software Link to heading
Arduino code Link to heading
I quickly hacked together some Arduino code to read all the inputs and send changes as MIDI commands over the USB port (serial). The code is as follows:
// Based on http://www.instructables.com/id/Easy-3-Pot-Potentiometer-Arduino-Uno-Effects-Midi-/step4/The-Code/

// Current and previous value of all three potentionmeters
int pots[3][2] = { {0,0}, {0,0}, {0,0} };

// All button states (1 = has been pressed down, 0 = released/not pressed)
int state[6] = {0,0,0,0,0,0};

void setup() {
   Serial.begin(57600); // Set the speed of the midi port to the same as we will be using in the Hairless Midi software
   digitalWrite(3,HIGH);
   digitalWrite(4,HIGH);
   digitalWrite(5,HIGH);
   digitalWrite(6,HIGH);
}

void loop() {
  // Left bass
  handlePot(3,1);

  // Right bass
  handlePot(6,2);

  // Crossfader
  handlePot(5,3);

  //left white
  handleButt(9,0);
  //left red
  handleButt(8,1);
  //left blue
  handleButt(7,2);

  // right blue
  handleButt(12,3);
  //right red
  handleButt(10,4);
  //right white
  handleButt(11,5);

  delay(10); //here we add a short delay to help prevent slight fluctuations, knocks on the pots etc. Adding this helped to prevent my pots from jumpin up or down a value when slightly touched or knocked.
}

// Sends a MIDI message to control channel "number" on any pot change on physical "pin"
inline void handlePot(int pin, int number) {
     pots[number-1][0] = (1023-analogRead(pin))/8;   // inverse value and decrese
      if (pots[number-1][0] != pots[number-1][1]) { // Only send if change
          MIDImessage(176,number,pots[number-1][0]); // 176 = CC command (channel 1 control change), 1 = Which Control, val = value read from Potentionmeter 1
      }
      pots[number-1][1] = pots[number-1][0];
}

// Sends a MIDI message to "number" for any full press on physical "pin"
inline void handleButt(int pin, int number) {
  if (digitalRead(pin) == HIGH) {
    state[number] = 1;

   } else {
    if(state[number] == 1) {
      MIDImessage(144,number,127);
      state[number] = 0;
    }
   }
}

void MIDImessage(byte command, byte data1, byte data2) //pass values out through standard Midi Command
{
   Serial.write(command);
   Serial.write(data1);
   Serial.write(data2);
}
Connecting to a PC Link to heading
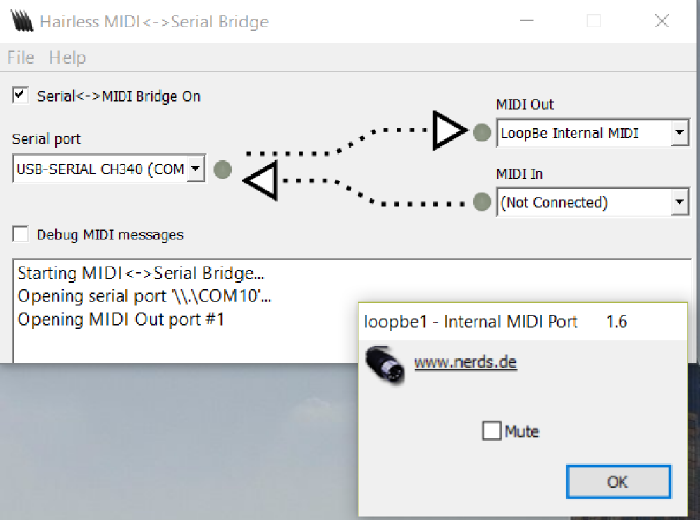
Most music software supports contollers using the MIDI interface - unfortunately we only have access to a serial port using USB so a couple of utilities are required to trick the operating system to thinking we have a real MIDI device.
LoopBe1: Creates a fake MIDI port which music software can listen to.
Hairless MIDI: Reads a serial port and converts messages to MIDI which LoopBe1 can read
Configuring Mixxx Link to heading
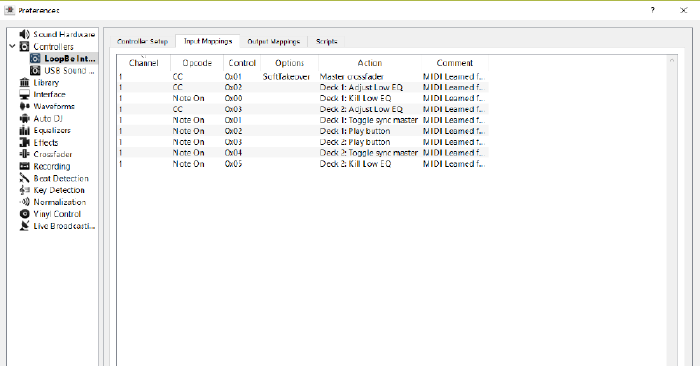
Mapped the MIDI controls to various controls in Mixxx.
The mapping file can be found here
All working together Link to heading
